

This little guy is a 2 x 31 hand-held belt sander.

This is how I held the 2 x 31 belt sander. Note the zip-tie on the handle, which is used to keep the trigger button engaged - forcing the sander to remain on constantly.

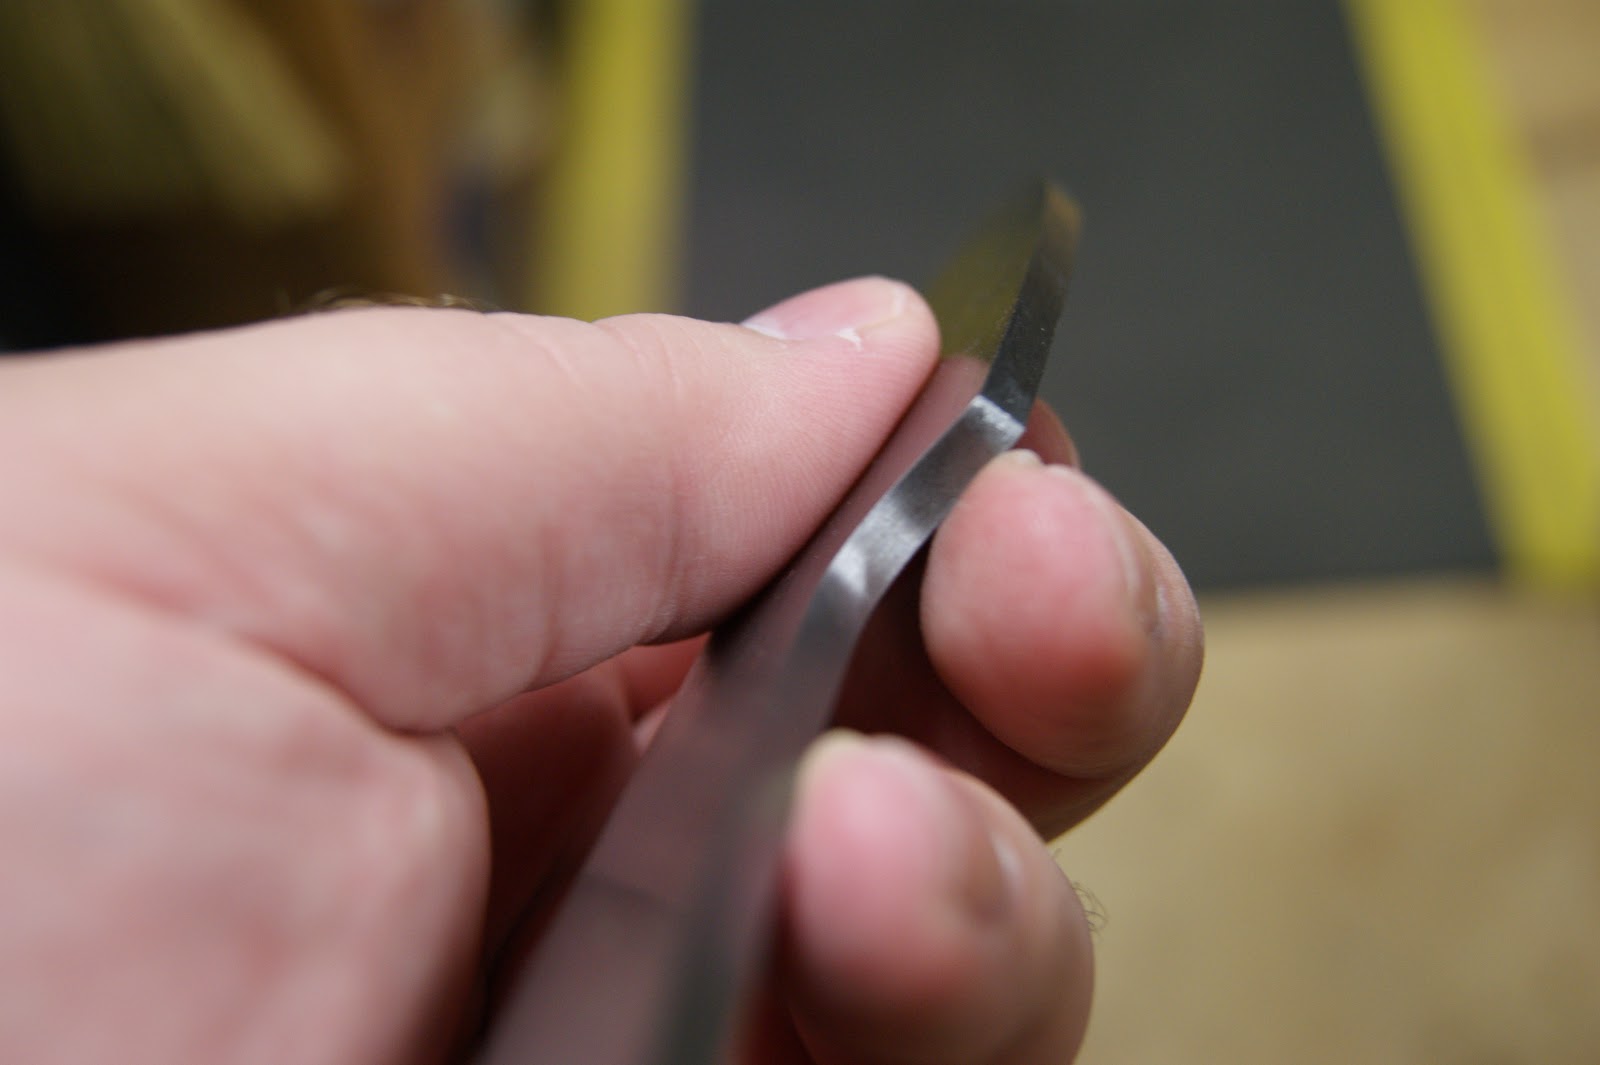
Next is a part of the knifemaking operation that I was experimenting with different methods. The first method I actually started to draw file each knife with a good Nicholson mill file. But I thought that maybe using a 4 x 36 belt sander would grind the sides quicker, even if the finish wasn't that great, I could always clean that up myself.


But this didn't provide a firm grip of the work piece against the belt sander. So I changed to a heavy-duty magnet. This works okay but the magnet is so strong that it sometimes sticks to the platen of the belt sander. As a rule of thumb, the nicer the finish going into heat treat, the easier it is to reproduce that finish once heat treating is completed. Here in this photo I've used painter's tape to cover the magnet. This helps in cleaning up the shavings removed from the metal.

While this may not seem that important, it is a crucial point in the process. In order to ensure that my holes are drilled perpendicular, and to ensure that each blade grind is even on both sides, each side of the blade must be true flat and parallel to the other side. Without true flatness and parallelism, the blade grind my come out uneven.

I decided to make a couple of flat surfaces for sanding by hand, I'll call them sanding tables. I purchased 2 x 2 x 36 inch square block and a 1/2 x 6 x 48 flat block. Each piece is oak and it is milled flat (supposedly). It should be noted that this is not the bulk lumber one can purchase for building, outdoor work, etc. I cut the 2 x 2 piece into thirds and I cut 2 of the 1/2 x 6 into 14 inch lengths. Then I took simple wood glue and clamped the pieces together. The result provided me with a portable surface that I could stick a bit of sandpaper to with spray adhesive. I can also clamp this sanding table into my bench vise, very handy.
Using the 60 grit sandpaper and my strong magnet, I can now grind each blade side true flat and parallel to the other side. This part of the process can be labor-intensive and time-consuming depending on how much sanding is needed to clean up a side flat. Because I used my 4 x 36 belt sander first, each blade finished up fairly quickly, but there were two blades that took nearly 20 minutes of sanding to clean up.


I've also needed to make a modification to the Grizzly. The platen that the Grizzly came with had to be adjusted. Note the following photo.

The flat plate that sits vertical between the two wheels is called the platen. A platen is a flat section of a sander where the belt will ride upon. The flat section provides a backing to allow a technician to press a work piece into the belt as it's running - thus grinding away material. The original platen on the Grizzly had a graphite imbued tape, almost like double-sided duct tape pressed on the platen. This had to be removed before I could put any grind on the knives.


I decided to try and use a bit of ceramic tile for a platen. I've seen this done before on other machines and some folks have even made videos and posted them on Youtube for demonstration. The only problem was I didn't know how I was going to cut it. I couldn't get the exact size I needed to attach to the platen, so having it cut with any precision at the hardware store was unlikely.

At first, I tried a method offered by Dremmel. This is an attachment that will fit most Dremmels and it was to provide a way to use a small routing bit to cut away sections of the ceramic. And, it's pretty cheap.


I clamped the tile to a piece of 2 x 4 left over from making my chop saw table.


I needed to cut a small steel support piece for the tile to rest on.


The shop after a good bit of work.

This has been a pretty busy week in the shop mainly because I've been off work for fall break. The blade sides are now thankfully true flat and parallel. I've also purchased some angle iron as I intend to make a fixture that will allow me to reproduce a flat grind for each blade. After all of this effort, I'm glad I'm making progress again. That will be the topic of my next article. I've got a good idea on how I want it to work and a rough design idea in my head. We'll see how it works!
Well, can’t wait for your next article. Love the look and feel of your workshop, shows something is a brewing there somewhere.
ReplyDeletehttp://www.belfab.net/
Thank you! Yes, it's been a bit rough at the beginning and slow going. But now things seem to be moving along nicely. I'm nearing completion of this project and I'm anxious to start the next one, which I've already got some ideas about!
Delete:D
Park Thermal specialize In Custom Equipment. Any Size, Any Type, For Any Budget.Park Thermal International is the leading North American supplier of Thermal Process Technology with a proven track record that started in 1938. Manufacturers around the globe rely on Park Thermal International for thermal processing equipment solutions.
ReplyDeletePark Thermalprovides furnaces which are available in small tool room applications to large production furnaces. Call us today
ReplyDelete