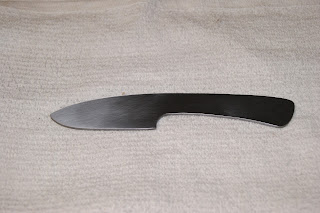
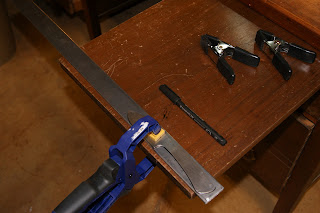
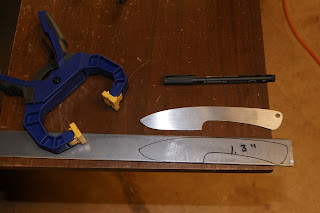
One cannot see the epic heavy breathing, the sweating, and the muscle tremors from the photos from sawing away. Despite the fact that the material is only 5/32" thick, cutting this with a hacksaw by hand is definitely not efficient. It may be time to rethink my process.
Enter Mr. Power-Hacksaw! As per my philosophy, or maybe just my impatience, there's always room to have more power tools in your shop! Modern technology to the rescue!
AWW YEAH!
>:D
This is what the blade looks like after quite a bit of power-sawing.
Even though the saw cut edges look worse than a bag of armpits, the pieces are now much easier to manage.
And now for some template use and some marking.
Duplicating the pattern to get the most out of the material.
After the process I showed from previous articles, this is the result.

From the photos one can see that I'm nearly done with the profile of the blades. I've been experimenting with different tools and techniques to get into the finger choil area along the handle. I managed to get some heavier duty grit on the oscillating drum sander, but those drums I purchased are aluminum oxide. One can tell this from the distinctive brown coloring on the drum. Sanding belts are the same way. Note the orange color on the belt on my Grizzly from this photo.
This orange color is a sign that the abrasive material embedded into the belt is ceramic. A blue belt indicates that the abrasive is silicone alumina. Aluminum oxide is alright for lighter duty applications such as wood or plastics. But it doesn't have an aggressive cut with the 1095 steel. I may look around to see if I can find any ceramic drums or silicone alumina drums. Those should cut better.
As with the template, I had to complete the choil area with files and sandpaper.
One can see the corrosion (rusting) literally moments after rough cutting the profile. Doesn't take carbon steels long to rust once exposed.
Using a dowel with the sandpaper to finish the choil area. A dowel can be of any size and of nearly any material. I'm using a scrap work piece a student had thrown away because it was machined out of tolerance.
The blades now have finished profiles and I'm almost done with the rough cutting. Now I need to produce the grind. As noted from previous posts, there are many different grinds available for a knife. One of the best for skinning is the hollow grind and that particular grind I've used in my two completed blades so far. However, this grind also takes some practice and I've not yet mastered the techniques to cut it into a blade. This is one of the reasons that I made five of these blades. It'll give me opportunities to practice cutting the grind. It's at this point where I can either go ahead and cut the grinds or wait until after heat treating. I'm going to go ahead and cut them now. I may pay for this later because the thinner material might allow the blade to warp easily during the heat treating process and from what I've heard 1095 is prone to warping. If the technician who is heating the blade is aware of this and knows what he/she doing then they may be able to correct it as it's cooling. I've decided to send my blades to a company called Texas Knifemaker Supply. I've heard good things about them and I can't seem to get much help from a local company that actually does some bulk heat treating for knife making companies. We'll see. But it'll be awhile yet before I send the blades to heat treat, I want to build up an order and send all of the blades to them at once. This will lower the cost a bit to have them heat treated.
Up next, a grinding I will go!


No comments:
Post a Comment